A few introductory words. Throughout my life on the marine coast of my locale, water has been it.
Being an avid fishermen, becoming an aquarist has obviously happened
for a reason. Not only was I raised on the coast, but from a family
where bountiful garden harvests are a necessity to easy living. Who
would have thought the green thumb fever would catch fire.
I'd
say it was the first time smelling the homegrown bud in an outdoor
environment surrounded by mother nature herself (sometimes the Divinity
of the Sage), that I realized you can have the cake and eat it too. But
how? How about a botanic quiver of lustful ivy women? An arsenal of
love, not violence. A simple juxtaposition between piercing the flesh
of soil, to piercing back the flesh of man. Oh, what a great idea, an
aeroponic cloner.
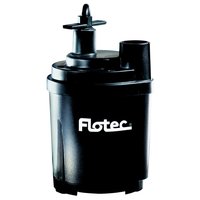
Flotec 1/6 hp submersible pump Draws 5 amps Rate: 1,400 GPH
Now
I know what you're thinking; 'No shit asshole, pump, pipe, water, mist,
fogg, heat, oxygen...everyone knows that's the perfect combination to
aid freshly cut daughters into an acceptable adulthood!!'
At
this point you sit back and relax...wow, that's a lot of moving parts.
Don't worry, it's not rocket science here just use a little
imagination.
PROCEDURE
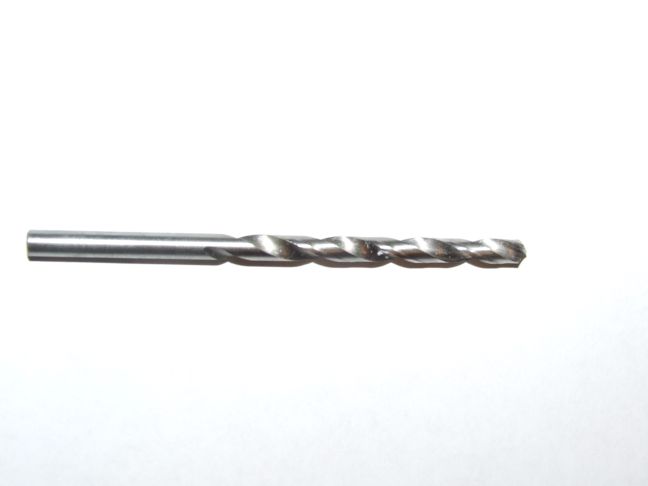
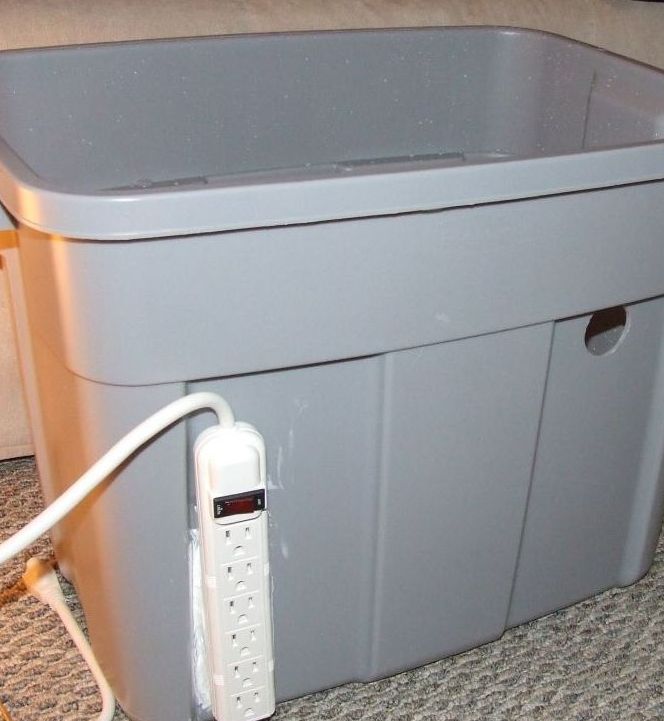
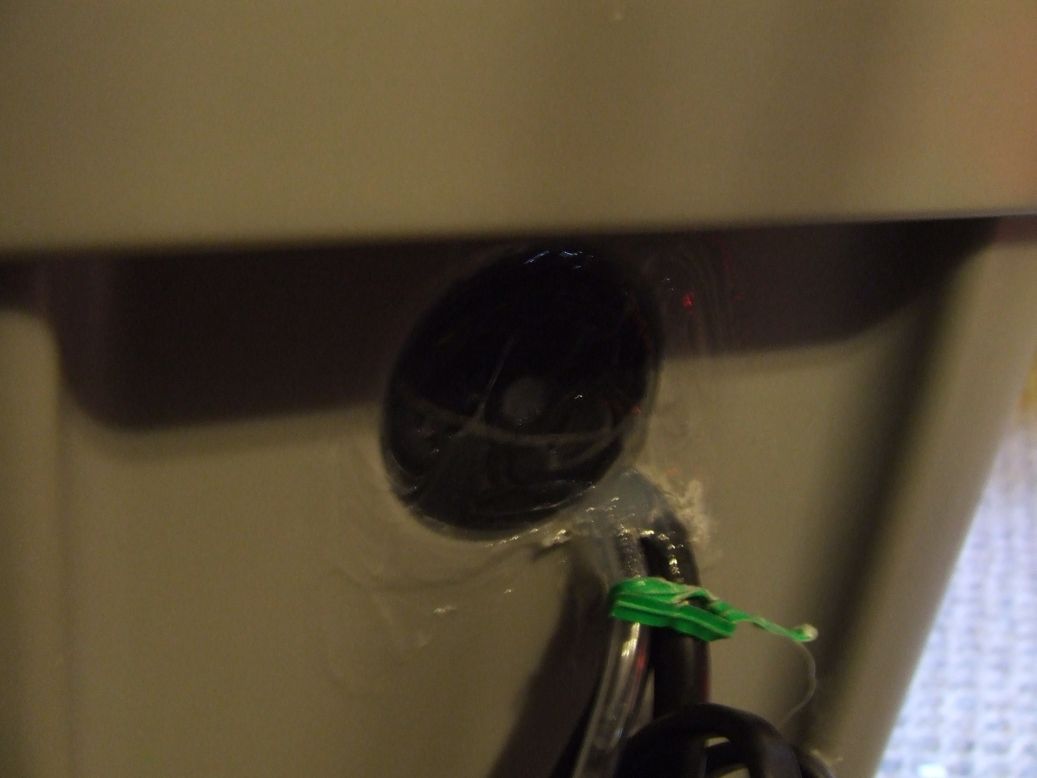
Step I Identify
the back of your aeroponic garden. Don't worry, it's either side at
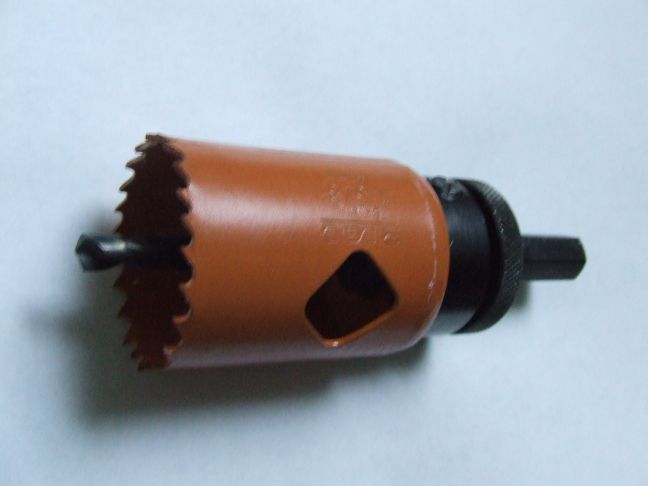
this point dummy, choose which one looks best. Use the 1 5/8" circular
cutout to cut the rear electrical channel for interior/exterior entry.
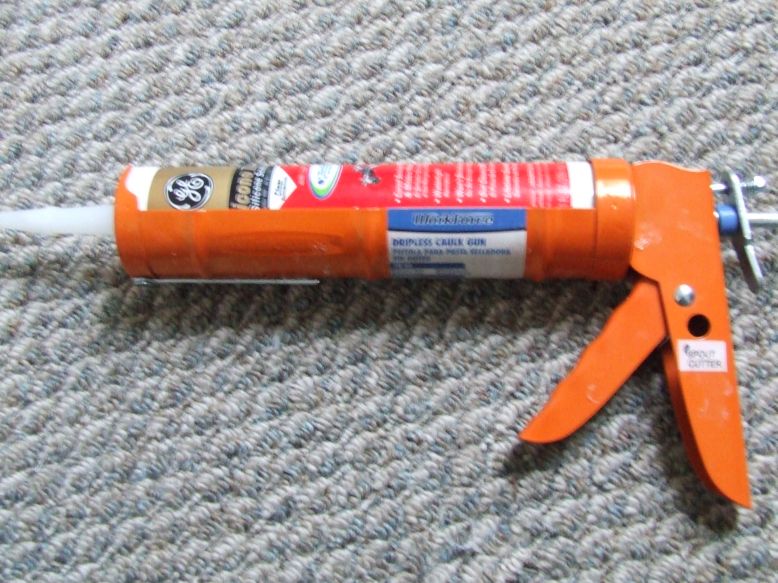
Glue your power strip at the exact location of visual pleasure.
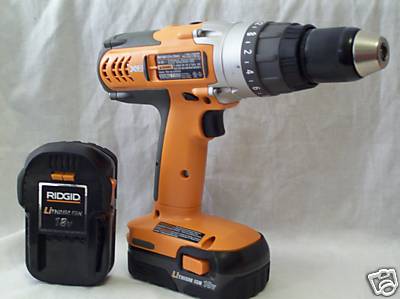
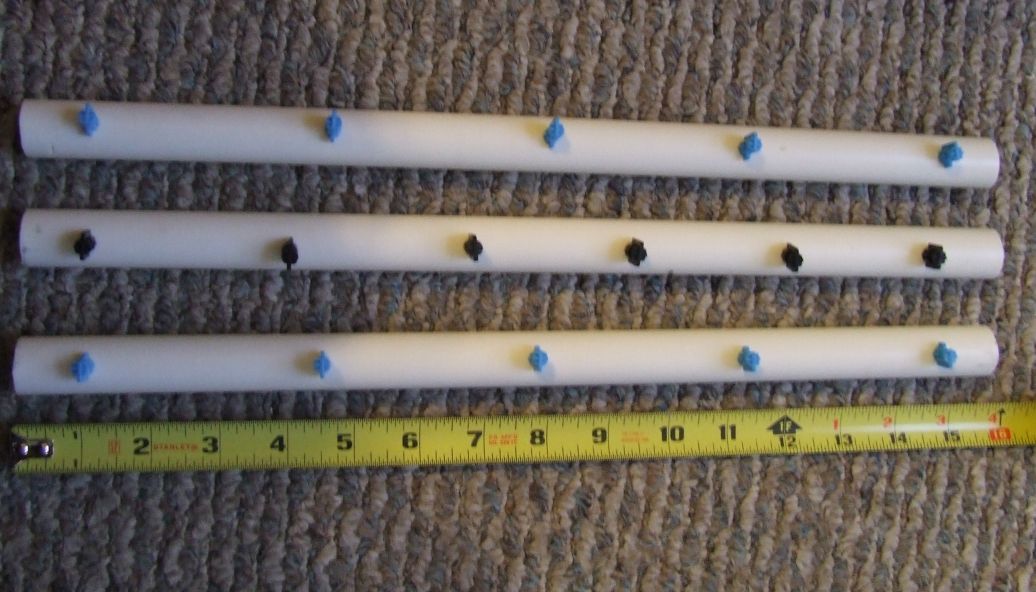
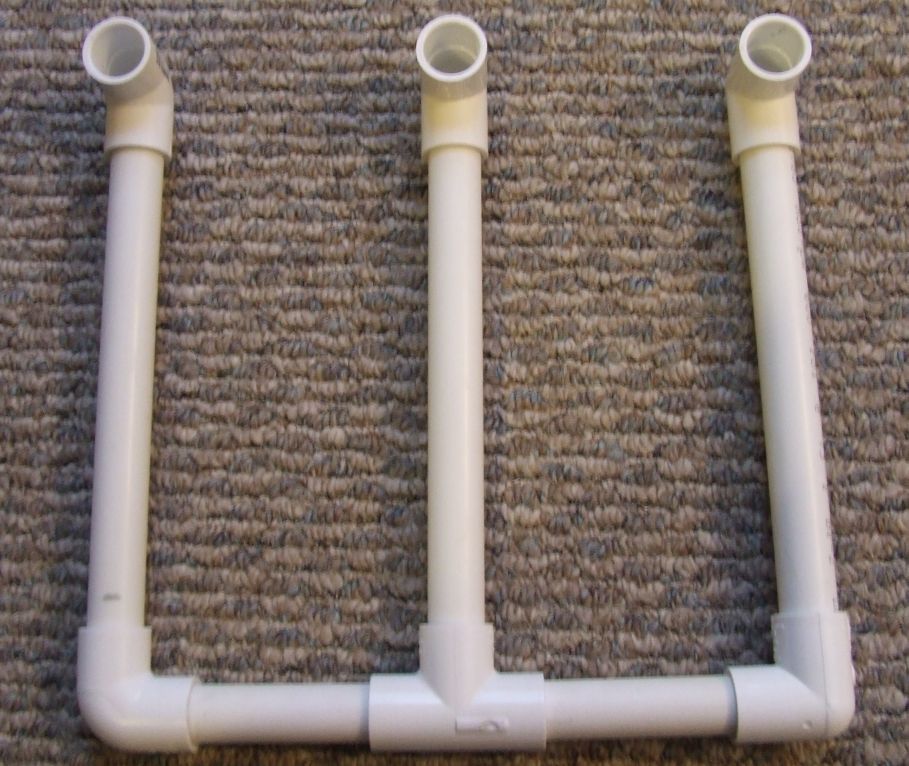
Step II PVC Pipe assembly. Using a measuring tape cut QTY: 3 @ 15 1/4" a.Drill holes for microsprayers i.QTY:2 Five sprayers @ 3 1/4" spacing ii.QTY:1 Six sprayers @ 2 1/2" spacing b.Screw in the jets in a forceful and expedient fashion
No problem, bam! What's next.
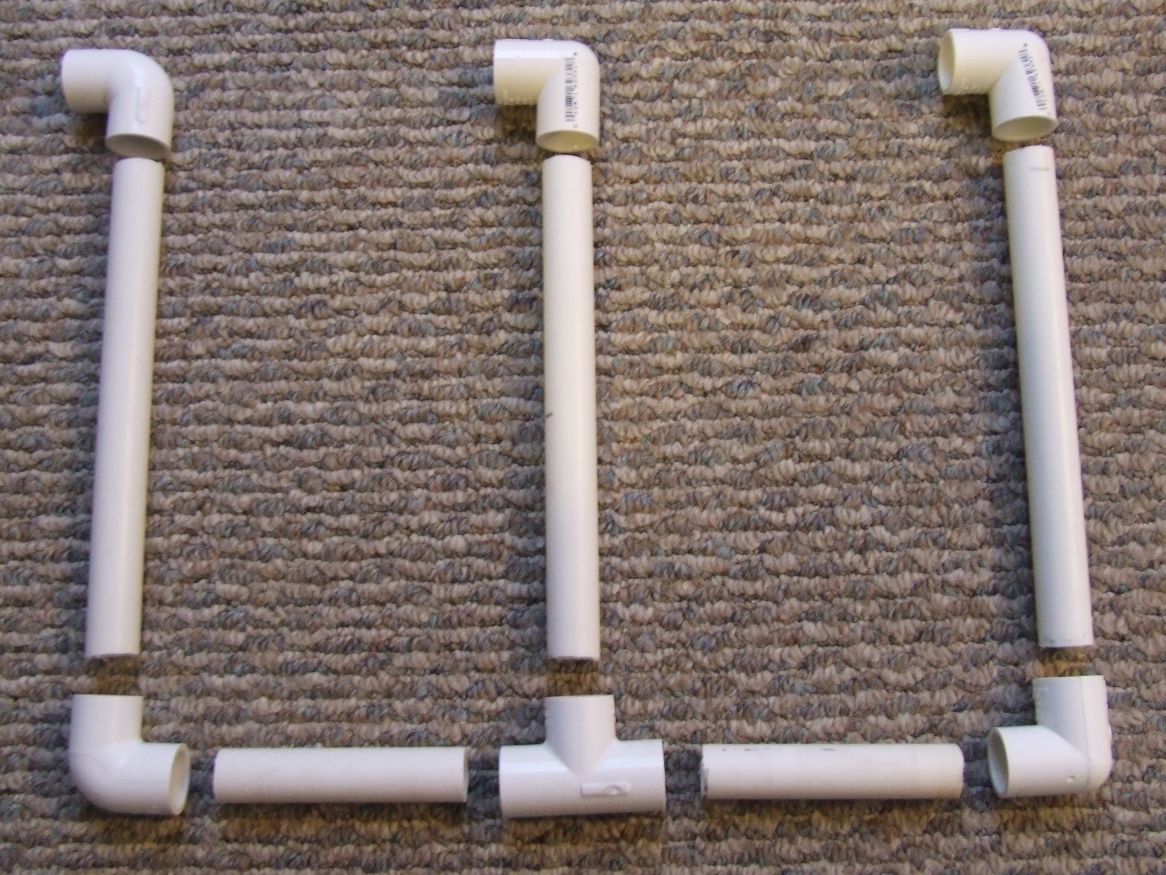
Step III
Side Structure Assembly 1st Side Assembly
a. Cut pipe i. QTY: 1 @ 11 1/4" a. Cut in half to receive tee joint ii. QTY: 3 @ 10 1/2"
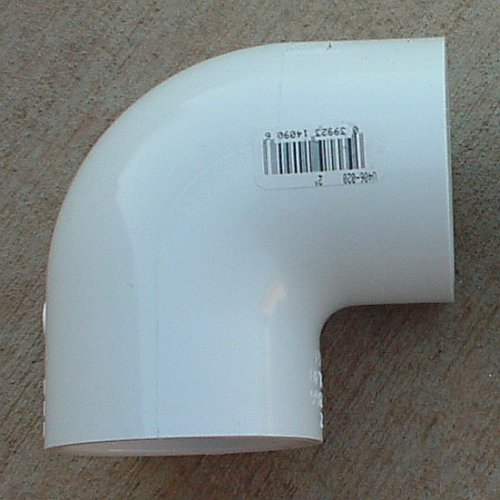
b. Assemble tee joint and 5 90degree elbows
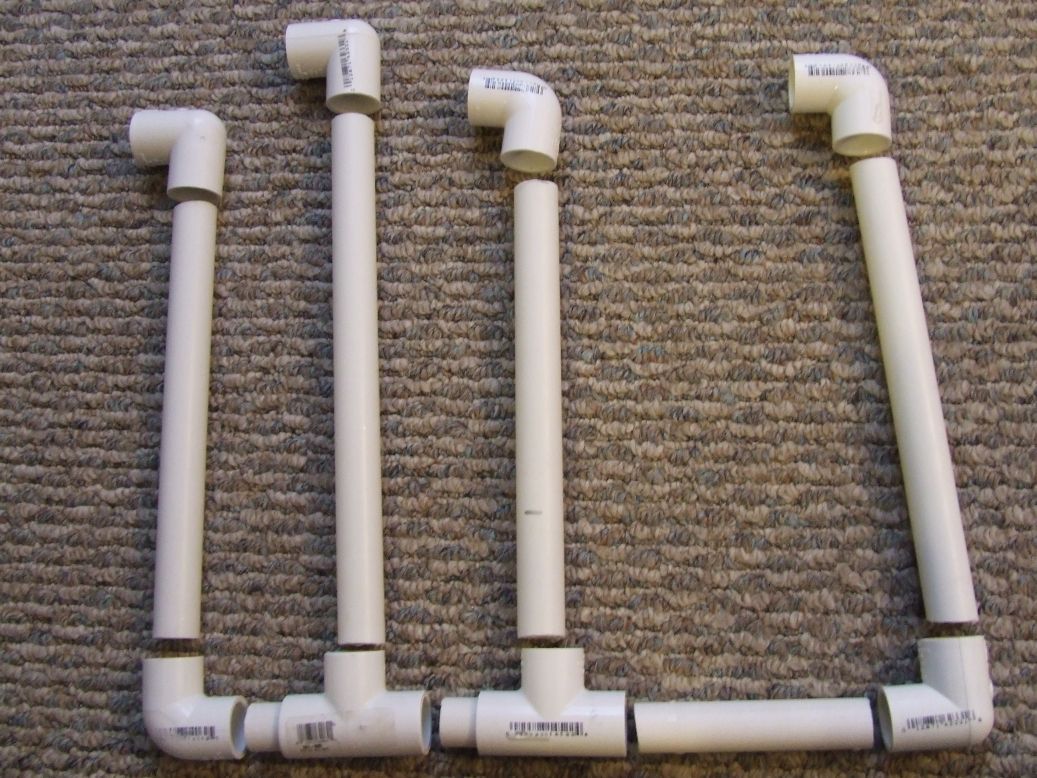
2nd Side Assembly
a. Cut pipe i. QTY: 1 @ 12" ii. QTY: 3 @ 10 1/2" iii. QTY: 3 @ (around 1 1/2" to grip joints iv. QTY: 1 @ remainder of pipe past elbow, tee,tee total 11 1/4"
b. Assemble QTY: 1 tee joint and QTY: 5 90degree elbows
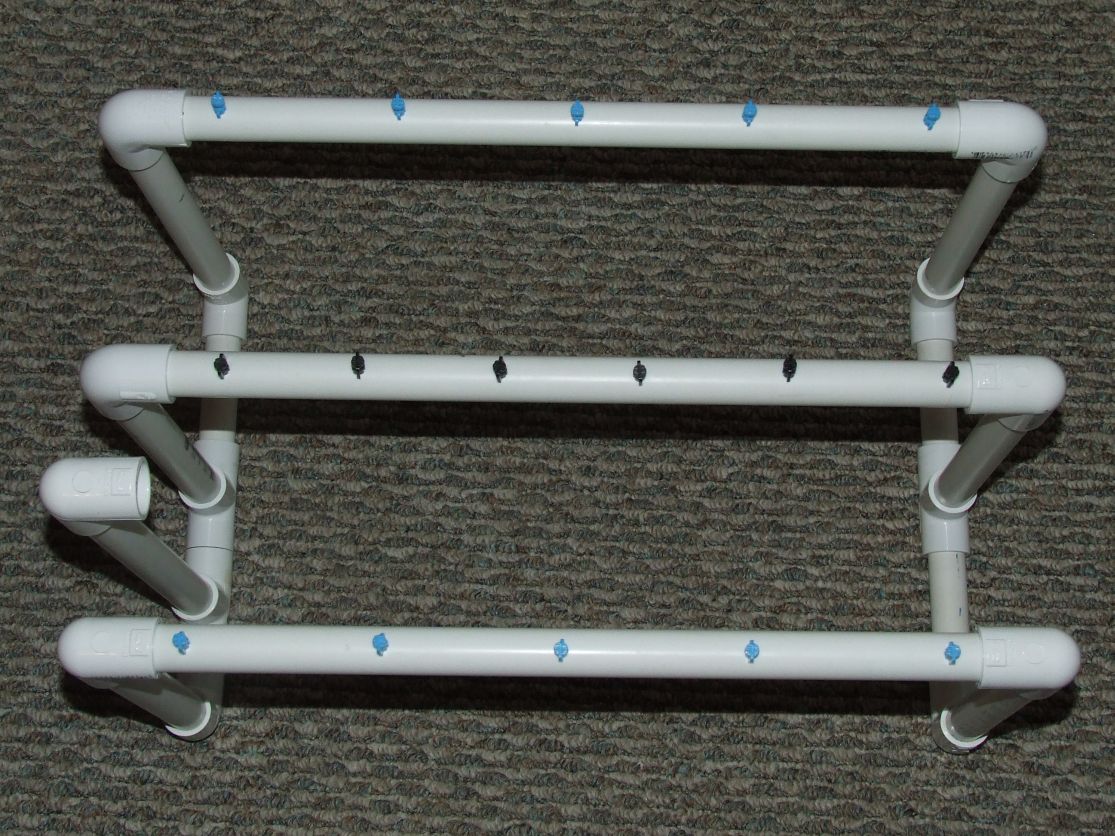
Great, your there. Piece the QTY: 3 top jet bars into the QTY: 2 side assemblies.
This
is the main source of your mist. The 3 horizontal bars provide aerated
mist the the immediate root zone of the clones suspended in mid-air
hence (aeroponics).
[LIST]
Step IV Interior cable feeds
As
the steps become easier, your mindset starts to travel the path of
elements involved on this closed circuit system. You know if you come
to these same mental conclusions that you have definitely smoked too
much, or you haven't smoked enough.
I'm talking taking a ride on the ultimate water slide, being forced
through a minisquel hole, and bursting into instant emotion. Not
exactly the preferable type, but a rather different climatic event.
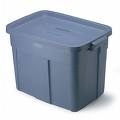
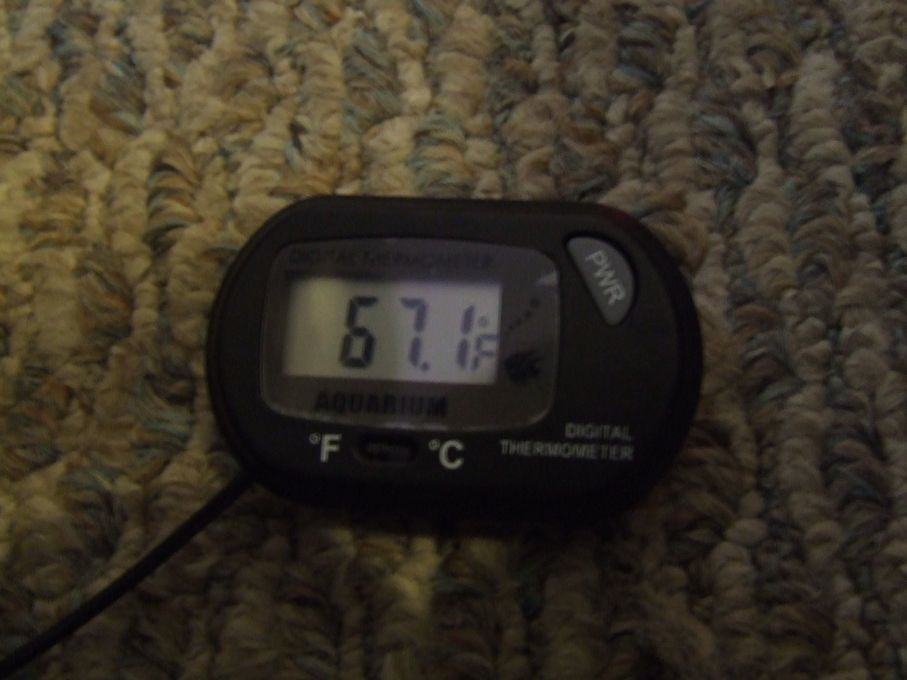
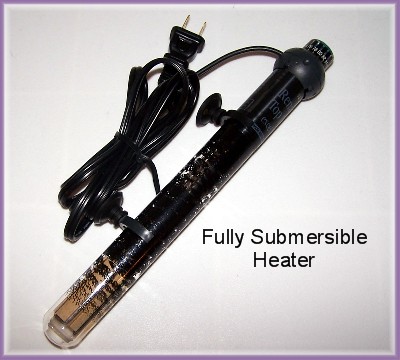
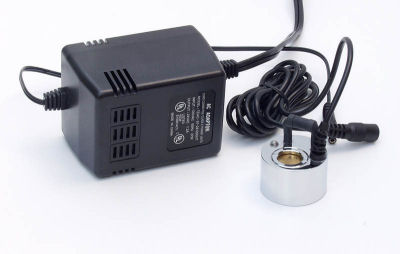
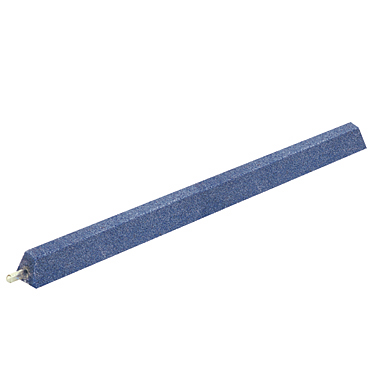
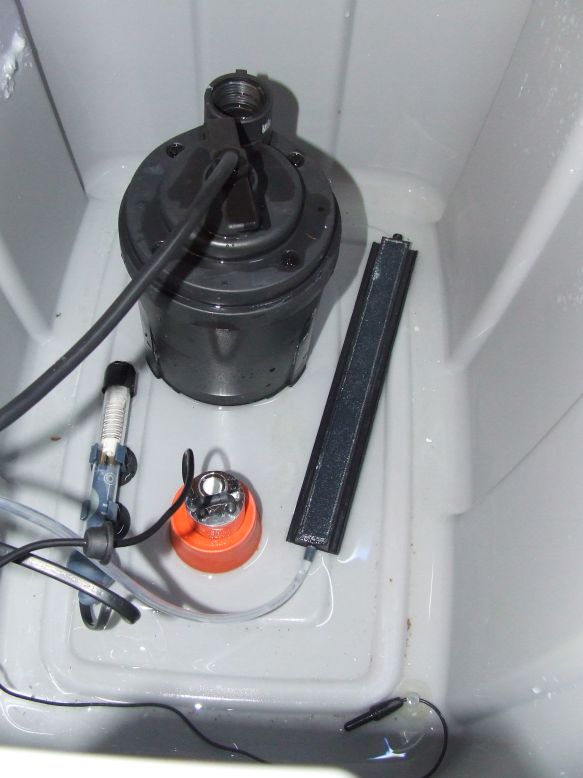
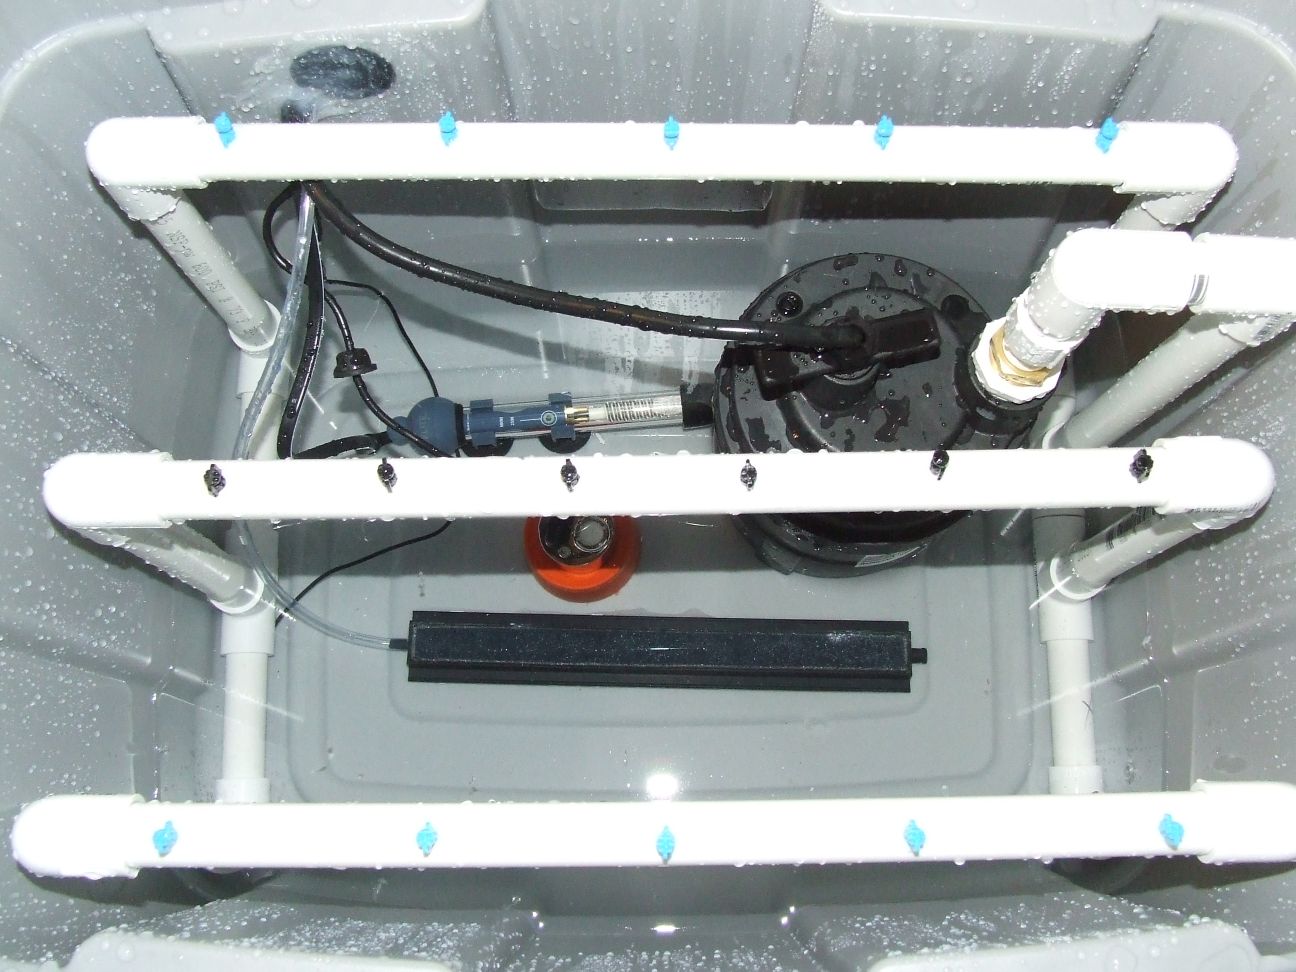
a. Place component inside rubbermaid i. airstone ii. fogger iii. pump iv. 25 watt heater v. therometer
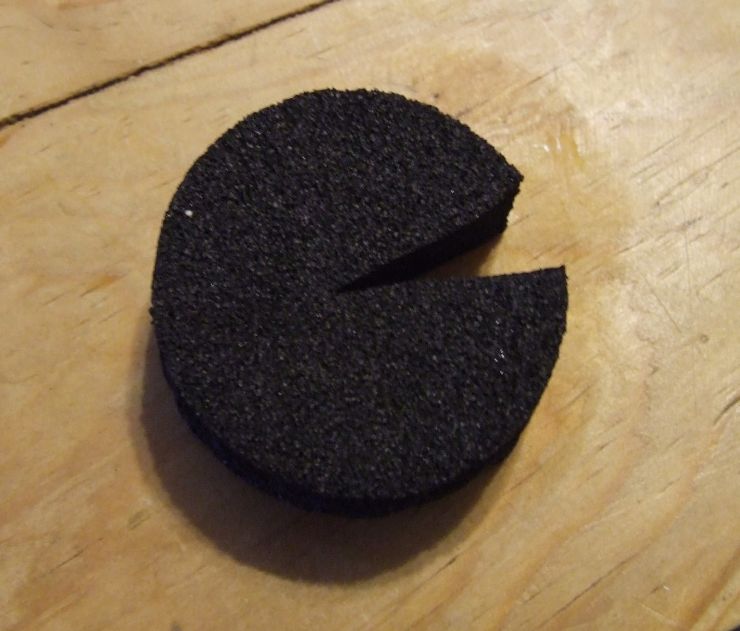
Notice
a plastic juice cup cut in half to elevate your mister. This setup
requires 3 gallons of water for operation. The elevated mister keeps it
just under the water surface to produce mist, but not deep enough for
the depth sensor to render it inoperable. As you can see each component
is placed at the exact longitudinal location - a thousandth tolerance.
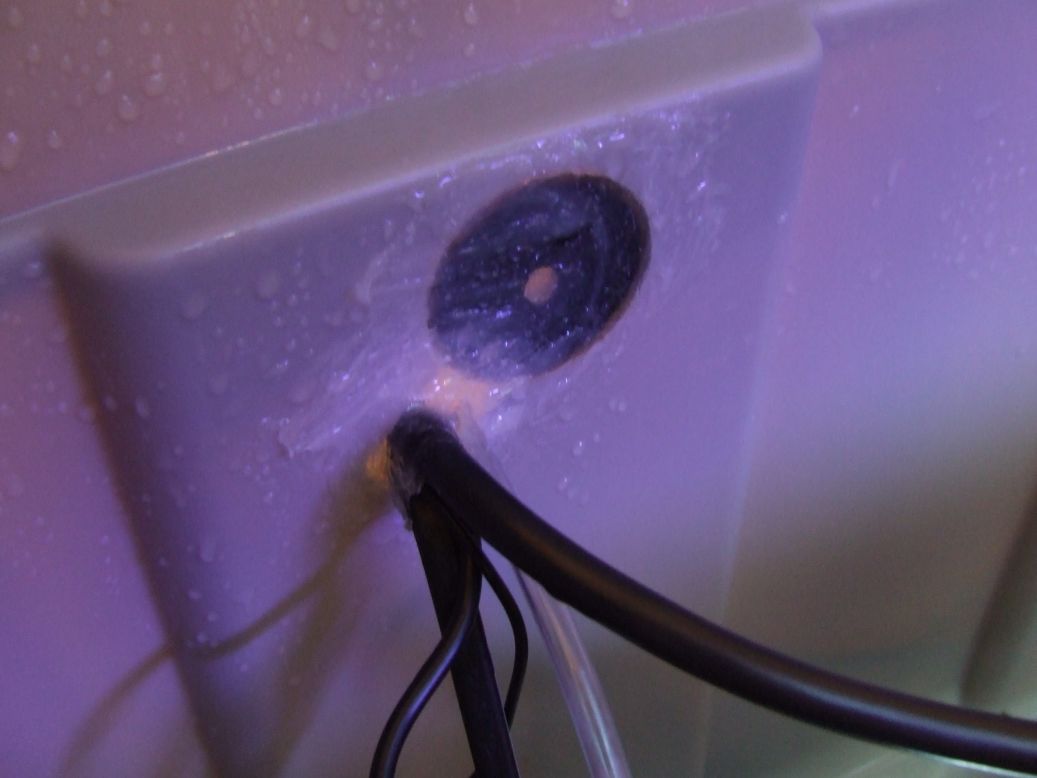
Feed the input/output component cables through your cut out
hole. Notice the cables are settle in a lower drilled cavity for snug
housing. Refill cutout hole with original plastic and silicon closed.
Outside
Inside
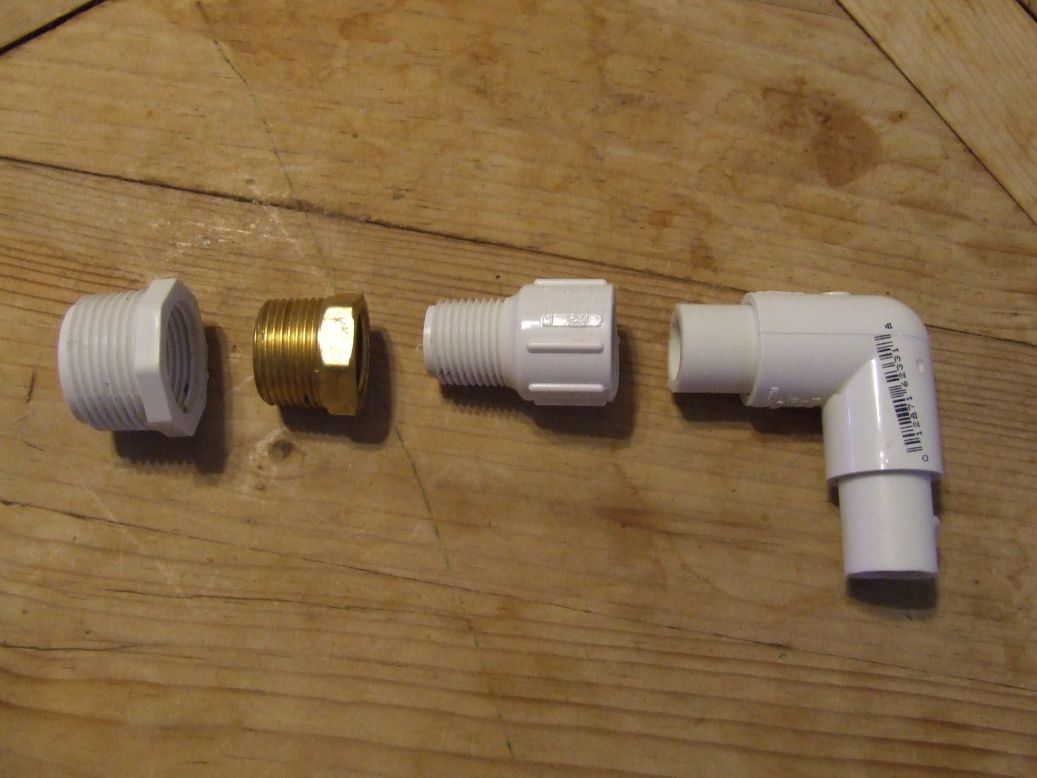
Step V Circuit to pump connection
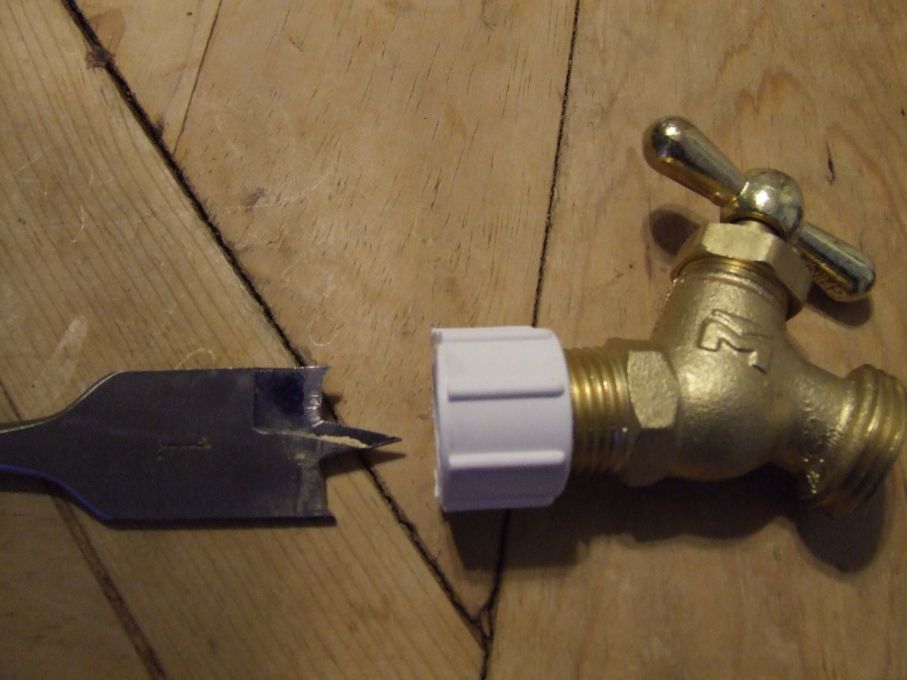
The submersible pumps output feed is 1" in diameter. The PVC pipe circuit is 1/2". hmmmmmmm. Not to worry.
a. QTY: 1 @ (male thread 1" x female thread 3/4") b. QTY: 1 @ (male thread 3/4" x female thread 1/2") c. QTY: 1 @ (male thread 1/2" x female no thread 1/2" PVC)
Note brass gage chosen because of availability.
Screw into the top of the pump and connect PVC circuit.
No
Doubt couldn't have said it better. The main structure of you aeroponic
cloner is complete. Now take a look at the back of your garden. Notice
pump on a timer for 1 min on 4 min off intervals. A longer duration can
be chosen without risk of drying out the root zone because of the
constant fogg produced. Disregard light white label.
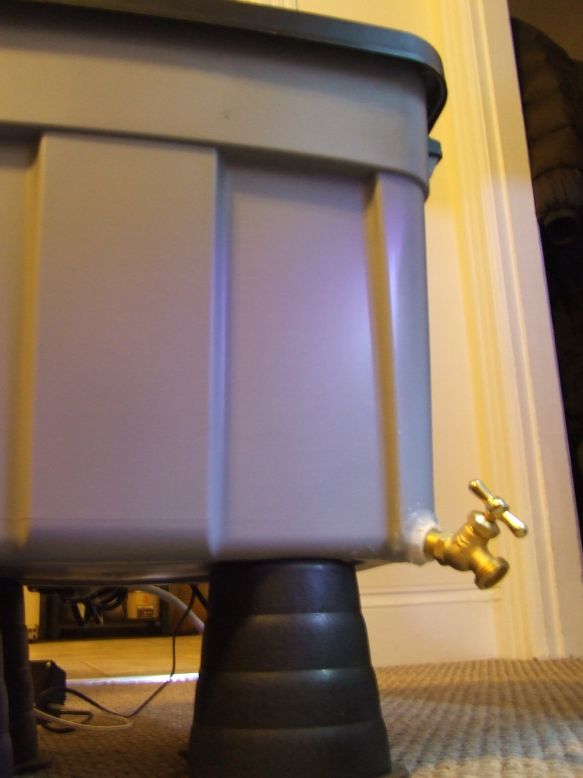
Step VI Reservoir Drain
Locate front ball valve drain location.
This is an absolute must for hassle free water changes and maintenance. Notice the futon risers for elevated drain access.
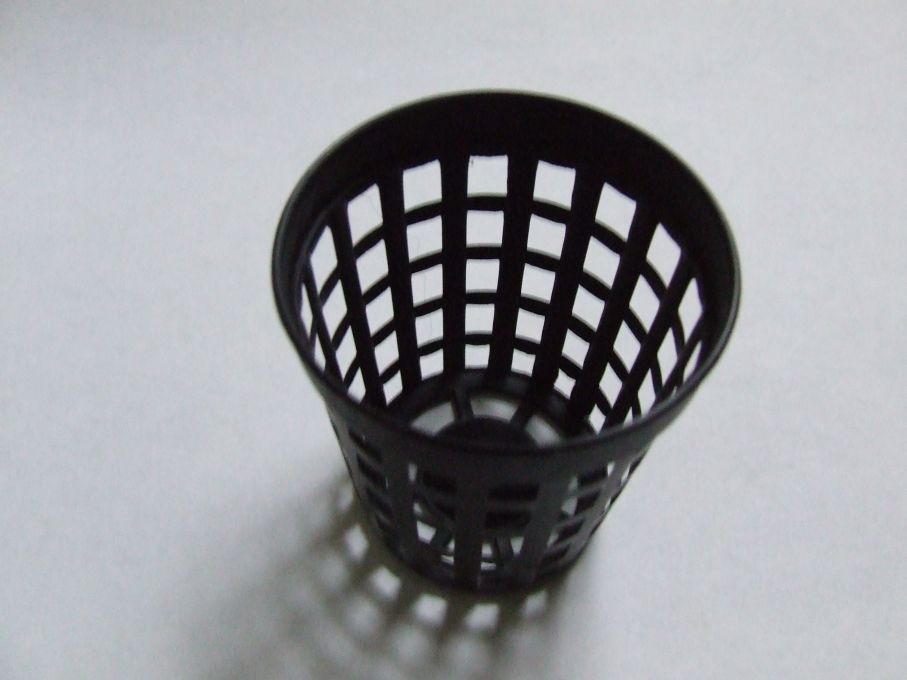
Step VII Lid assembly
Cut 1 5/8" holes for net pots.
Notice the single silicone bead around the inside perimeter edge for water tight seal. No water is getting outa this baby!
THE END
In
summary with VII easy steps you are on the way to a cloners paradise.
It is truly amazing to watch a variety of plant species genetically
replicate within a few weeks.
A few drops of Root 66 from Technaflora and you will be golden.
in action
Tomato Clone juvenile
Tomato Clone adolescent
This
machine can produce vegetative quality clones by supplementing a more
judicious nutrient regimen and sufficient HID lighting. Clones soft and
hard tissued plants. The sweet Mary has given.