Spider mites are a common pest to be found feasting upon our lovely marijuana plants. They flourish in warm (greater than 85°F) and dry (less than 60% rH) environments, generally living on the underside of a plant's leaves and causing damage by puncturing the plant cells in order to feed upon the vital life juices inside! These evil doers can make quick work of a crop with their short generational cycle (about one week in between hatchings and one more week for the mite to reach adulthood), and should therefore be dealt with as soon as possible in order to avoid serious damage, including the potential death of your plants.
Prevention is better than the cure! It is always better to prevent an infestation by practicing clean growing techniques.
Sterilize your indoor grow room prior to growing (and in between harvests) with a dilute bleach solution.
Keep things clean by removing dead plant material or other organic material from your grow space.
Keep your indoor cultivation tools separate from your outdoor tools.
Do not enter your indoor garden after having worked in your outdoor garden.
Keep pets out of your grow area, wash hands and wear clean clothes whenever entering the grow area.
If possible, use a closed grow room with a HEPA filter installed on the incoming air duct.
In essence, just do everything you can to keep the grow environment (including yourself) clean and contaminant free!
Signs of Spider Mites: Know what to look for when diagnosing the early stages of a spider mite infestation.
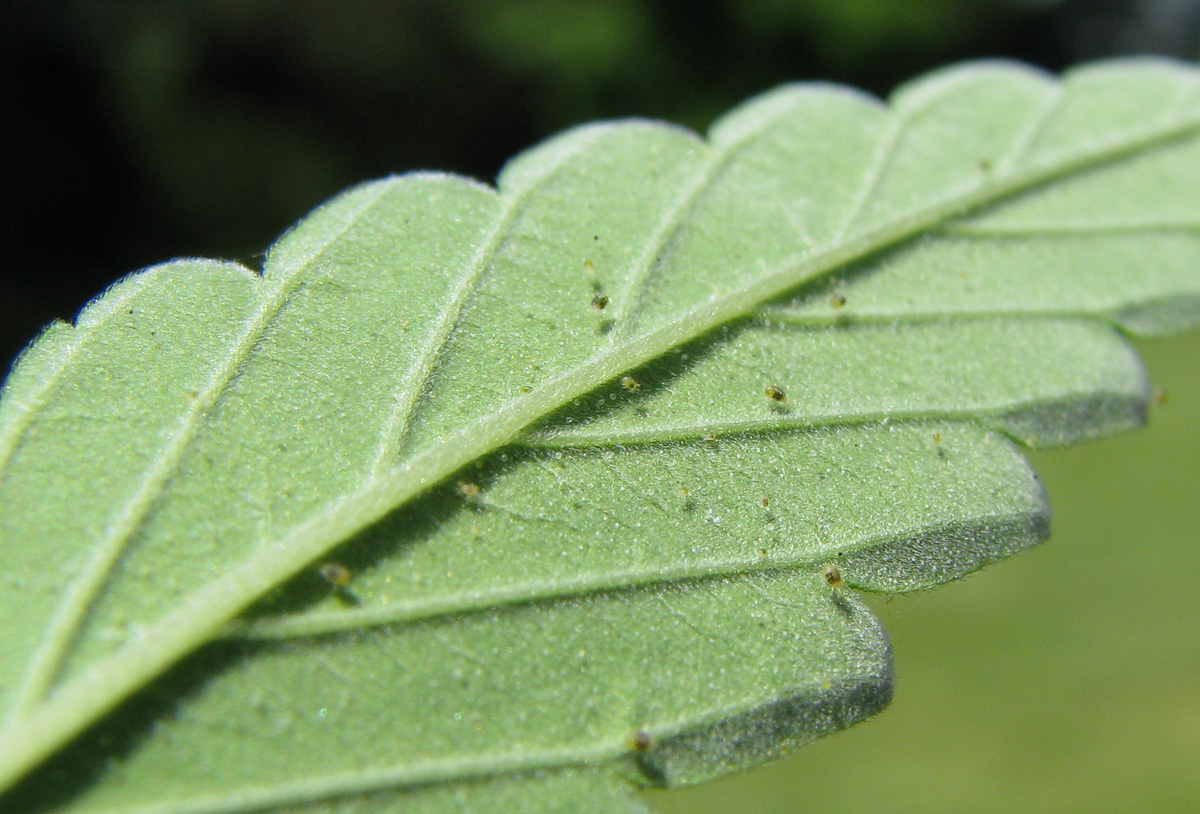
Small (pin point) yellow or brown dots on the leaves of the plant (as shown in this image).
Very small strands of silk webbing on the plant, particularly underneath the leaves.
Small (pin point) white dots on the underside of leaves (these are the eggs).
Little buggers (depending on them ol' peepers of yours, you may need a magnifying glass to spot them!)
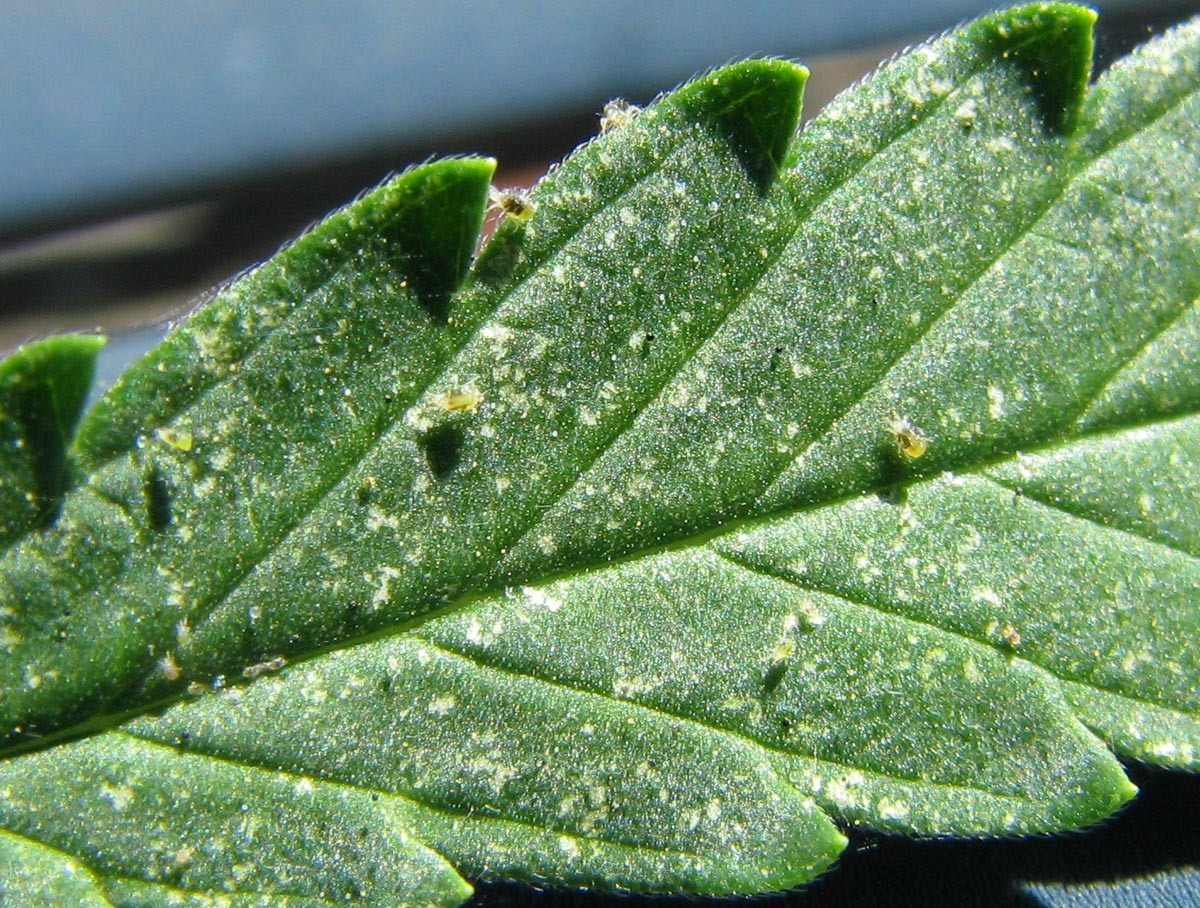
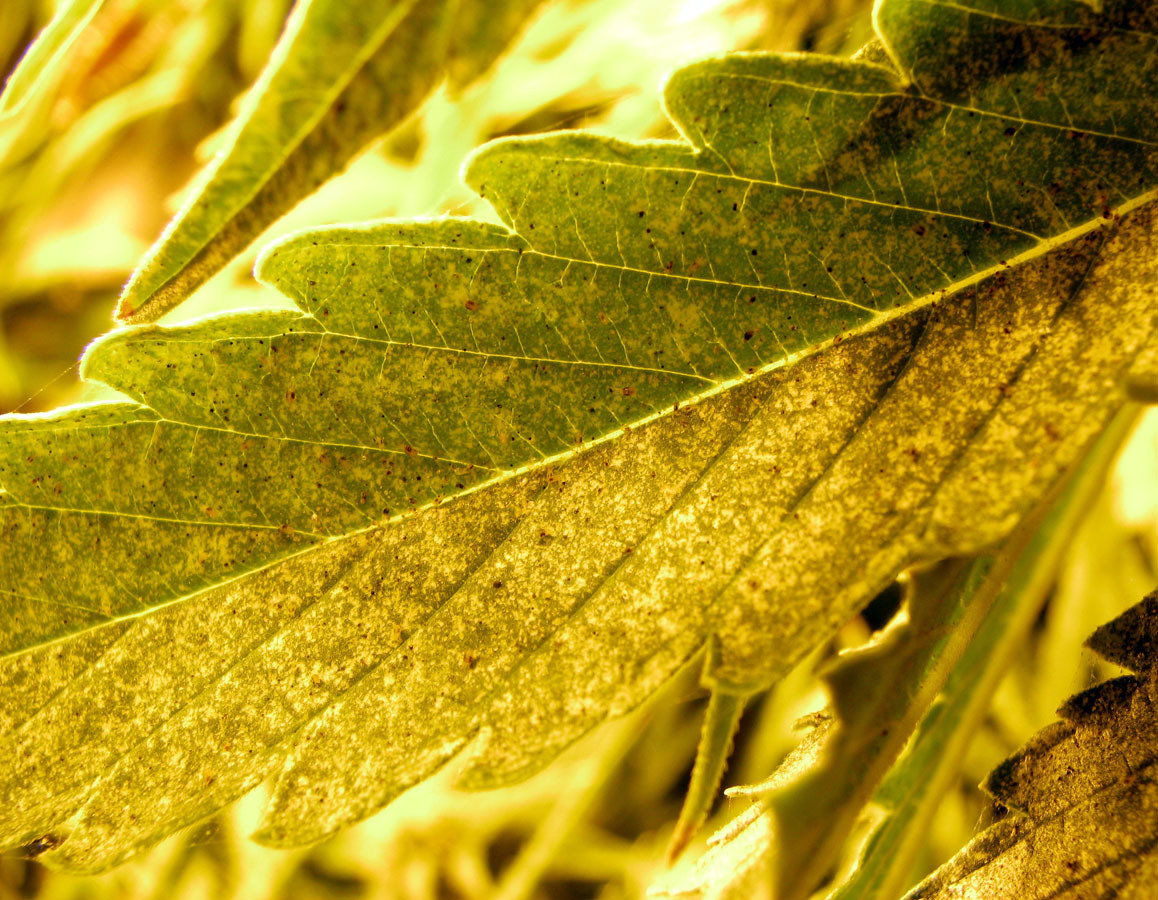
These images depict the advanced stages of an infestation, after the mite population has reproduced through several generations. During the early stages of an infestation, you may not notice the tiny mites, but instead may notice small dots (stippling) appearing on your leaves. Images showing the early stage of an infestation can be found at the beginning of this document.
Treating a Spider Mite Infestation: These practices can help control and eliminate a mite infestation when implemented carefully and deliberately.
I will begin by listing simple treatments and progress toward more complicated/severe treatments that may be required for heavily infested plants. The first course of action is to isolate infested plants in order to reduce the possibility of mite migration to mite-free plants. Keep your humidity levels up, but be careful if you're already in flowering as you don't want to induce fungal growth in your buds! Remember to water your plants 1/2 hour before spraying, as this will help reduce the amount of spray solution that is absorbed by your plants.
Soap & Water - Mix a dilute solution of non anti-bacterial dish soap and water, and spray (fine mist) the leaves of your plant, particularly the underside where the mites like to live. May require multiple applications depending on how well you can cover each individual leaf of the plant. Make sure to rinse off the leaves with plain water 20 minutes after spraying in order to prevent the soap from clogging up the stomata on the leaves, which will stunt plant growth if not cared for.
Soap & Water Plus Version 1 - Gather 1/4 cup baking soda, 1/2 cup apple cider vinegar, 1 tablespoon lemon juice, 2 drops dish detergent & 1/4 teaspoon epsom salt. Take one cup of hot water to dissolve epsom salts and pour into a clean 2 liter container with the rest of the ingredients. Add water to fill to 48 ounces (a 2 liter bottle will be 3/4 full) and shake well. Put into a spray bottle and cover your soil/medium with plastic. With the lights off, mist the plant all over concentrating on the underside of leaves. Wait 20 minutes and sprits off with clean fresh water, shaking as much water off the plant as you can. Solution is alkaline and rinsing is important in order to remove mites and eggs, and to prevent the solution from burning the plant leaves. Test on a small portion of the plant and wait 24 hours to observe before dousing the whole thing. If you see plant damage, dilute with more plain water and test again.
Soap & Water Plus Version 2 - Gather 1/2 cup baking soda, 1 cup vinegar, 3 tablespoons lemon juice, 2 drops dish soap, mix and dilute with plain water to 40 fluid ounces. Use in the same manner as Version 1. Shown to work both indoor and out, with success on spider mites, thrips, aphids, clover mites, grass gnats and mosquitos.
Soap & Water Variations- Since all plants will have varying degrees of sensitivity to these sprays, you can try to create your own by mixing water with a small amount of dish soap, as well as garlic, cinnamon, clove oil and lemon juice.
Rubbing Alcohol - This poisonous liquid can kill mites and evaporate relatively quickly in order to reduce harm to plants. Varying degrees of success have been reported with solutions ranging from 1:3 (light) to 1:1 (strong) ratios of rubbing alcohol to water.
Predatory Mites - These mites do not feed on plants but on other mites. Predatory mites can be mail-ordered from a horticultural warehouse or purchased online from gardening vendors. Three of the most common mites used to kill and control spider mites include Phytoseiulus persimilis, Metaseiulus occidentalis, and Phytoseiulus longpipes. The Phytoseiulus persimilis variety is nice because these guys cannibalizes on themselves after eating the problem mites, thereby reducing their own population naturally after they've finished their work. Phytoseiulus longpipes can stand higher temperatures, so if your grow space is above 89°F, you should try to find this variety.
Miticides- When all else has failed, miticides will be one of the most effective forms of spider mite treatment. You should generally try not to use these more than necessary, as they are considerably more toxic than all of the above treatments, and can also cause resistant strains of mites if used repeatedly over time on the same population of mites.
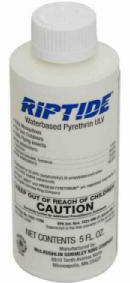
Pyrethrins are natural organic compounds that provide potent insecticidal activity. While pyrethrins are slightly toxic, they are not very dangerous to humans and have been used as an organic crop dusting agent in agricultural farmling as well as indoor agriculture for some time. You can also find them in some shampoos designed to remove lice/ticks from humans and pets. Riptide 5.0% Pyrethrin is a common solution that works well.
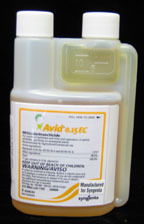
Avid is a miticide/insecticide formulated by Syngenta corporation that will effectively kill spider mite populations. However, it is considerably more toxic than pyrethrin based insecticides. and should never be applied to plants that have already started their flowering phase. Avid is suitable for outdoor use while the plants are still in their vegetative state.
I hope that this has helped you to understand spider mite infestation and how to effectively deal with it. Most methods of treatment do not kill the mite eggs and will require re-treatment about 7 - 10 days after initial treatment. I'm sure that once you have dealt with an infestation, you will understand why prevention through cleanliness is well worth the effort if you want to have a hassle free, productive and bountiful grow.
Good luck and if you have any other questions, don't hesitate to post on our forums for more help!